 Footbridge, originally uploaded by Edward Faulkner.
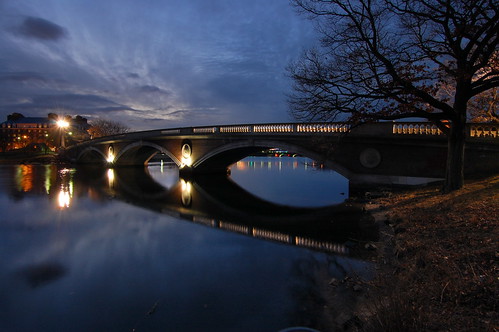
 Here's another example of what you can get if you wait for just the right light. Timing is everything. I waited until the light of the sky was within a reasonable range of the lights on and around the bridge.
There wasn't much artificial light available in the foreground, so it came out a little too dark. Thankfully modern digital SLRs have a lot of sensitivity down at the dark end of their dynamic range, so you can extract a lot of detail after the fact.
I used GIMP to dodge the dark foreground, which brings the details out of the shadows. The term "dodge" (and its opposite, "burn") comes from the days of film photography, when you had to mask out parts of your print while it was in an enlarger. It's much easier to do in software, though the terminology may be unnecessarily confusing. Just think "dodge equals lighten" and "burn equals darken".
In this specific case, I opened the image in GIMP, added a new layer, set the new layer's type to "Dodge", and painted on the new layer with various gray brushes until I had the effect I wanted. Using a separate layer makes it easier to make adjustments if you change your mind, because your original image is still untouched on the layer underneath.
No comments:
Post a Comment